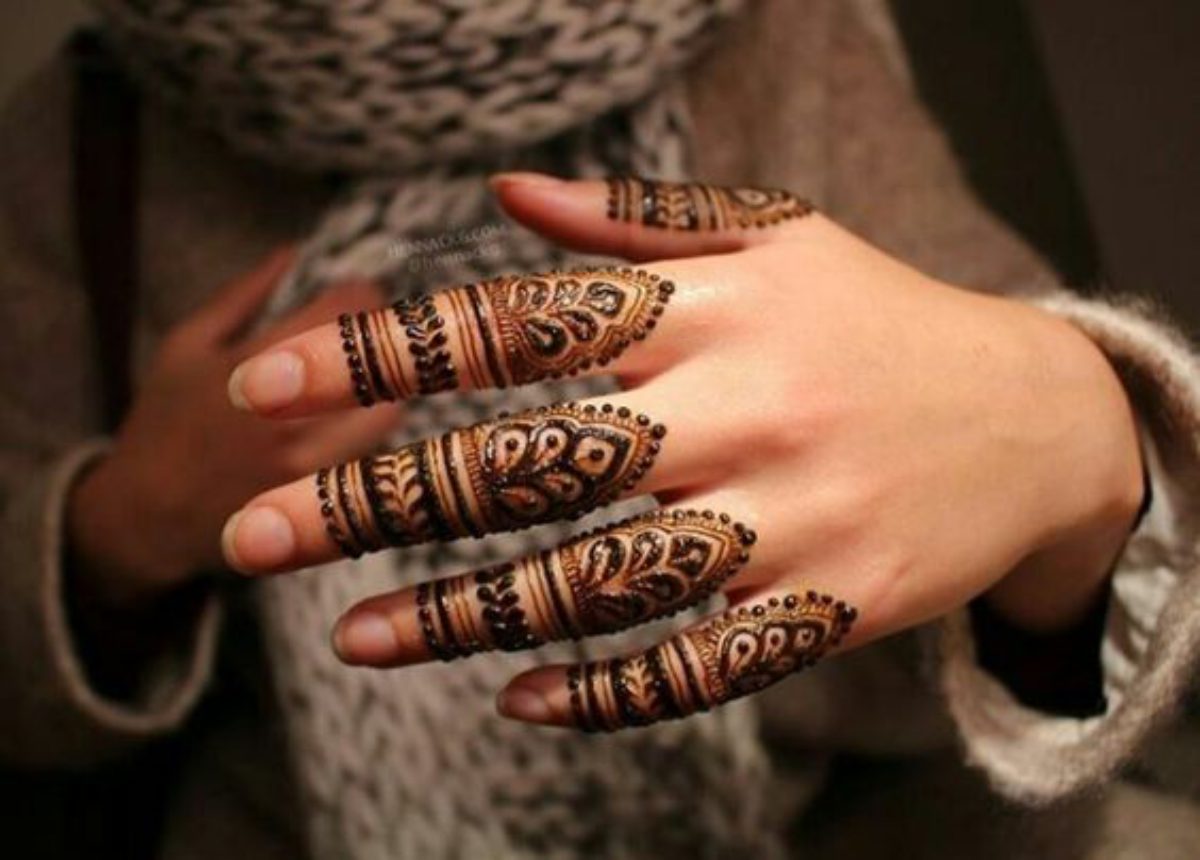
Step-by-Step Easy Simple Finger Mehndi Design: Finger mehndi designs are perfect for those who love subtle, elegant body art that doesn’t take up too much time. Whether you’re attending a casual event or adding a touch of beauty for a festive occasion, finger mehndi is a simple yet sophisticated choice. The best part? You don’t need to be a professional artist to create stunning designs. In this guide, we’ll highlight 10 easy, step-by-step finger mehndi designs that you can try at home.
In this article, we present 10 easy, step-by-step finger mehndi designs that you can try. From delicate leaves to bold geometric shapes, there’s something for everyone. These designs are not only simple but also versatile, suitable for casual outings, weddings, or even festivals like Diwali and Eid.
Step-by-Step Easy Simple Finger Mehndi Design
- Design Names and Steps
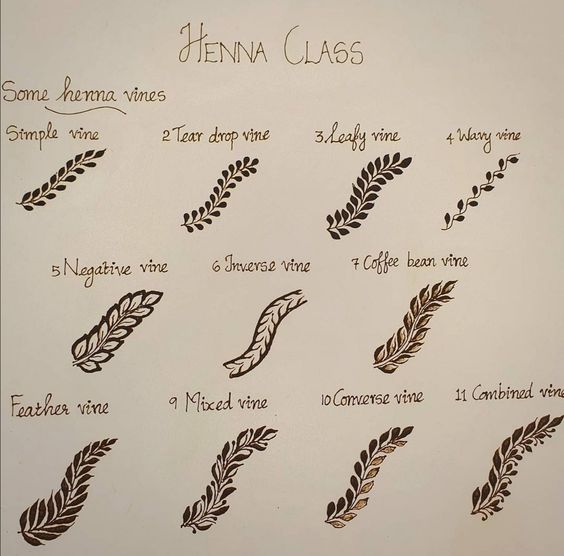
- Leafy Trail Design
-
-
- Step 1: Start by drawing a small dot on the tip of your finger.
- Step 2: Create small leaves around the dot, extending them down the finger in a trail-like fashion.
- Step 3: Add small details like tiny dots or swirls between the leaves for a finished look.
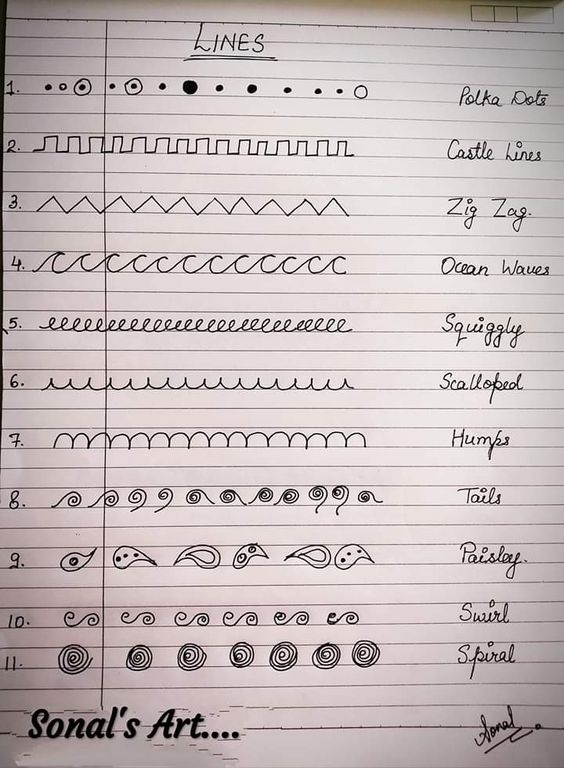
- Minimalist Dots and Lines
-
-
-
- Step 1: Draw a straight vertical line starting at the middle of your finger, extending to the tip.
- Step 2: Add small dots or circles along the line for an elegant, minimalist look.
- Step 3: Optional—add tiny details like triangles or crosshatching near the line for more depth.
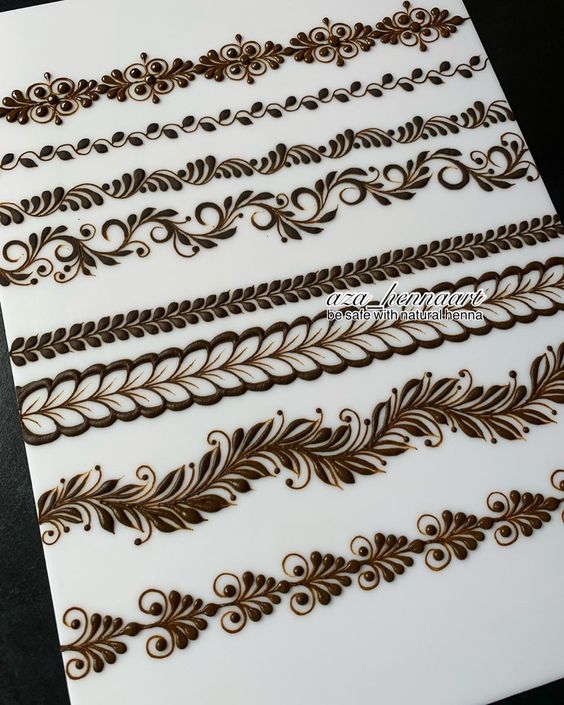
- Flower Accent Design
-
-
-
- Step 1: Begin by drawing a small flower on the top of your finger, near the nail.
- Step 2: Extend small petals from the flower down towards the middle of your finger.
- Step 3: Add a simple swirl or zigzag pattern on the sides of the petals for an added touch of detail.
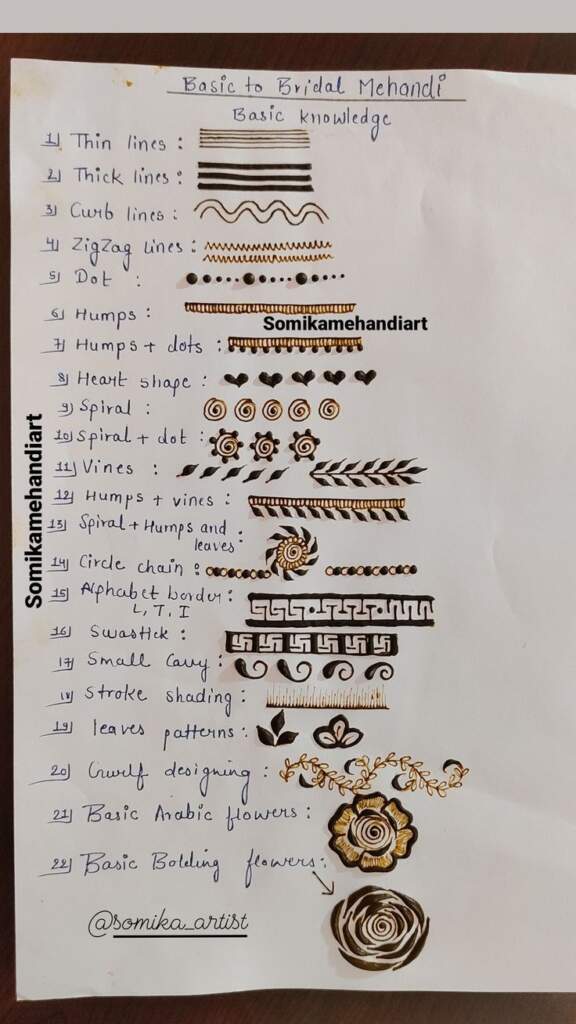
- Geometric Shapes
-
-
-
- Step 1: Start with a small square or diamond shape at the top of the finger.
- Step 2: Connect smaller geometric shapes like triangles or hexagons, extending them down the finger in a symmetrical pattern.
- Step 3: Finish the design with small dots or parallel lines to add sophistication.
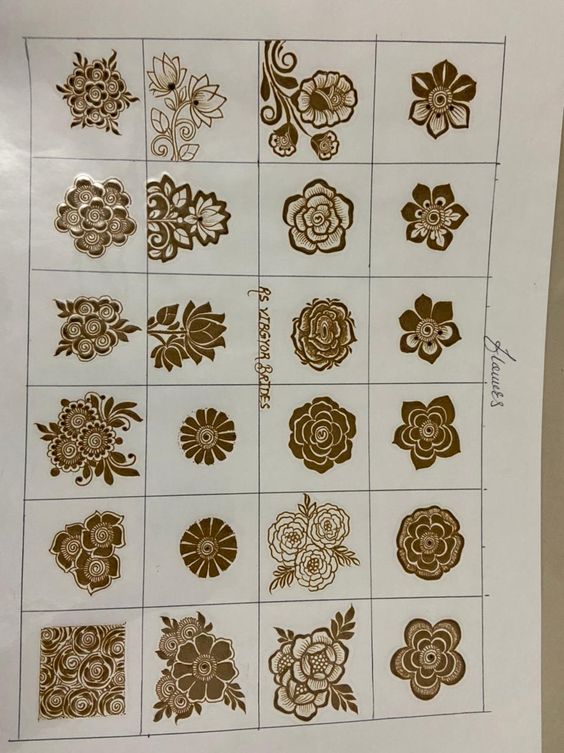
- Vine and Curl
-
-
-
- Step 1: Draw a curved line starting from the base of the finger toward the top.
- Step 2: Add small vine-like shapes emerging from the curve.
- Step 3: Decorate with spirals or dots near the vine to create a flowing, natural look.
-
Conclusion
Finger mehndi designs are perfect for adding a delicate yet fashionable touch to your look. These Step-by-Step Easy Simple Finger Mehndi Designare not only simple to create but also versatile enough for any occasion. Whether you prefer geometric shapes, floral patterns, or minimalist dots and lines, there’s something for everyone. So, pick up your mehndi cone, get creative, and let these simple designs transform your fingers into beautiful works of art!


